The One True Version Control
In the land of web applications, collaboration and code management. There exists a version control software, that is so effective in its purpose, it surpasses all its competitors. Needless to say, I’m talking about Git, an essential tool for any type of software development that needs to facilitate remote development.
This post is going to be targeted at any developer who hasn’t used git before (I’m looking at those dropbox devs in the corner 😞) or any, who don’t feel completely comfortable with it. The Covid-19 pandemic has shown the world that many technological sectors can run almost entirely remotely, I think remote development has reached a pinnacle and it’s possible that it may never come down. As a developer, this means that an understanding of version control software becomes a must-have skill. So, this post is going to be a little ⌛ but its also going get through all the ✔️ that you need to know to become a master of version control and remote development.
Feel free to use the catalog on the side if you want to skip through to a section.
Version control is a system that records changes to a file or set of files over time so that you can recall specific versions later.
Git gives you the ability to keep track of changes made to your code through commits. Commits provide a full history of adaptions made by any user, which can be reviewed and restored from any point in the development life time. Git also provides collaboration management through merges, pushes and pulls. These tools allow you to sync the changes you make to the code, with the changes others have made and vice versa.
The Basics
Git has a methodology of repositories, branches and commits. A repository is used as a location to store branches, each branch is a line in the illustration below. A branch is made up of a linked-list of commits, each commit is a circle in the illustration below. Each commit is an instruction of changes made to the code since the previous commit. If you follow the commits up the branch, you can see all the changes made to the code from the beginning of its existence to the most up to date version. The repository is created with a single branch, the master branch, which has a single commit.
An Example…
lets say I create a new repository, this can be seen on the illustration above with the circle and branch linked to “Me”. As development on the project continues, I might ask for your help and “You” may create a new branch. In this example, you decide that the code you implemented was terrible and you never want to see it again, so your branch never gets merged back to the master branch. However, “Your Friend” says she can help me with the problem. She’s really good at coding and solves the problem in two commits, then merges her changes back into the master branch.
Collaboration with git relies on the master branch and a remote repository. Each developer has a local copy of this repository and they can create additional branches and new commits on their new branches. As a developer continues to work locally, their branches will diverge from those stored on the remote repository. When a developer wants to resynchronize with the remote repository, they must first merge all branches they were working on locally, to their local master branch and then merge their local master branch with the one stored on the remote repository. This is usually done by pulling the commits from the remote master branch, merging them with commits on your local master branch and then pushing a new commit to the remote master branch.
I’m going to take you through a real-world example of using git, with github as the platform of our remote repository.
Starting Out
To begin working with git, you’re going to need to install it on the operating system (OS) of your choice. Instructions can be found on the official Git website here. Once installed, create a new repository on github. I’m going to create a repository called “Version-Control-with-Git”, made for this blog post.
Right off the bat, we have two different options for linking a local repository with our newly created remote repository. Lets take a close look at each method.
1. Initialize a new local repository:
For this method, you need to create a local repository on your machine, add a new commit to it, then push your changes to the remote master branch. Lets break down step by step:
Create a folder for the project and call it whatever you want. I went with “Version-Control-with-Git”, to keep it inline with the name of the repository.

Create a “README.md” as the first file added to our repository. Our README file will use a format called Markdown, which is associated with the file extension “.md”. Markdown files are written in a simple html-like structure, specifically created for easy documentation. To get a more in-depth understanding of markdown, check the Github Guides. To make this step easy,
- We start by creating a new .txt file called README.txt.
- We write in “This is my new Repository”.
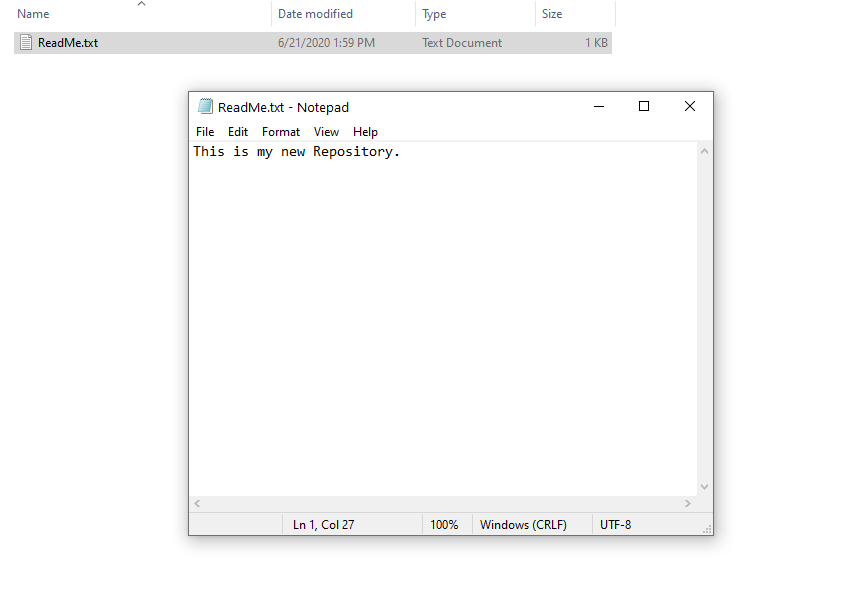
- Then we rename the file as “README.md”, to save it with the .md extension.
Open your windows command console and navigate to the folder you created:
then type the following
We’re going to visit each of these git commands in detail a little later in this post. But to briefly explain whats happening here, we first initialize an empty repository and add the readme file we created earlier. (You have to specify the files you want to add before you can commit them). We commit the change of adding the readme file, then we link a new remote repository, calling it origin with the url to the repository we created on github. Lastly, we push the commit we made, to the master branch of the remote (origin) repository.
Got it? Good! 💣
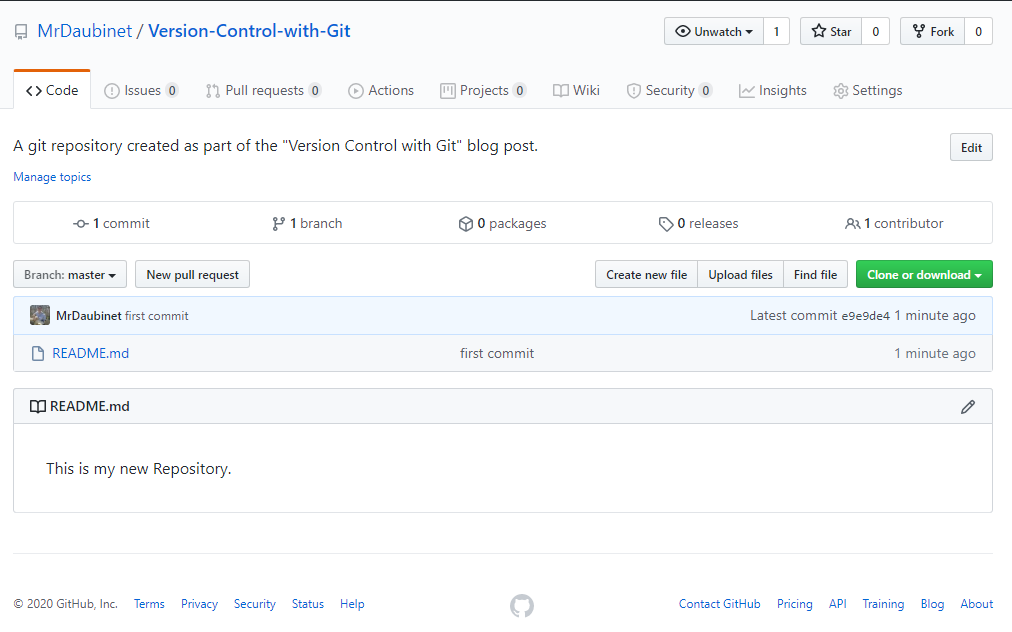
If you did all the steps correctly, you will see that your online repository has been updated and it now includes the readme file.
2. Clone the repository :
Instead of initializing a local repository, we can clone the repository directly from git. Make sure you tick “initialize this repository with a README” when creating the repository, in order to create a repository that can be cloned, it needs to have some content in it to copy.

Click the green clone button and copy the url
.png)
Navigate to the location where you want to local repository to be stored, open your windows command console and type the following:
If you did everything correctly, you will see that your local repository has been created

and it now includes the readme file that are on the repository.

And that’s the basics done.
Tracking Changes
Lets investigate how we add new files to the repository and how we can check which files have been added and which have not.
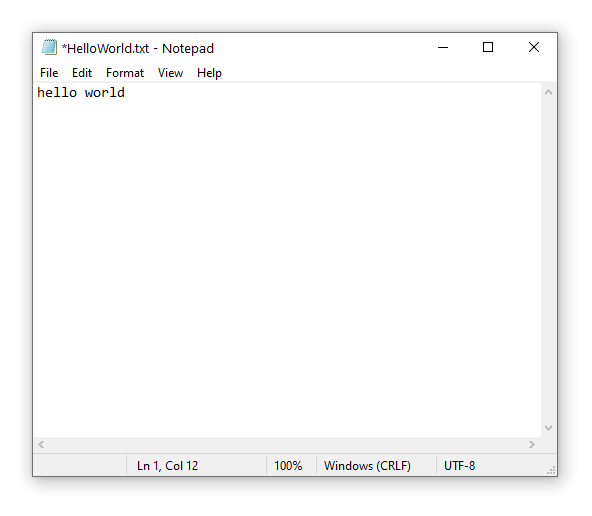
Create a new file called HelloWorld.txt.

Open the text file, add “hello world” to the first line and save the file.
Open your windows command console and type the following:
git will respond with the output:
Git show the “HelloWorld” file we just created is untracked. This means that the file has been added to a folder, which is being tracked by git, but it has not been tracked for a git commit. Going through this line by line:
line 1 tells us that we are on the master branch.
Line 2 tells us that we have the most recent changes that are on the remote master branch.
Line 3 tells us that there are untracked files.
Line 4 tells us how to add these files to be tracked for the commit.
Line 5 tells us what the untracked file is and line 6 is pretty self-explanatory.
To track this file for a commit, we type the following:
If we now check the status with:
git will respond with the output:
We see that the “HelloWorld” file is now tracked and ready to be included in the next commit.
Lets say you wanted to undo the file you just added, maybe you want to commit other files that have been added, but not this one. You can type in:
If we now check the status with:
git will respond with the output:
If you want to add multiple files at once, you can specify each file with the command:
Or you can add everything that is untracked in the current folder with the command:
Committing Changes
Lets now take a look at how we commit code changes and view our logs of commits. To begin with, lets take a look at what currently resides in the git logs.
Type in the following command:
git will respond with the output:
The git output tells us that there is a single commit which has been made on this branch. It was made by me (my username and email) on Sunday the 21st of June at 2:28 pm. It also tells us that the commit message is “first commit”.
The tricky part of this output, (origin/master, origin/HEAD), tells us a few things about the currently set remote repository for this commit. Firstly, origin/master indicates that the changes in this commit have been pushed to the master branch of the remote repository named “origin”. Secondly, origin/HEAD indicates that the default branch of origin, which is its master branch, is pointing to this commit. Meaning this is the (last) most up to date commit that has been pushed to the master branch on the remote repository. This commit was made for us, when we initialized and linked the local and remote repositories.
Before we try commit the files we’ve added, lets make sure that we have tracked the HelloWorld.txt file we created earlier.Type in the command:
I’ll leave it up to you to check that the file has been tracked. Now we can commit the file. Each commit requires a commit message, which can be added inline or interactively. Lets see how this is done.
lets create a commit with an inline message by using the following command:
git will respond with the output:
The git output tells us that 1 file was changed (HelloWorld.txt) and 1 file was inserted (also HelloWorld.txt). It shows us the commit message used “Adding Hello world text file” along with the first 4 characters of the hash which it uses to identify and secure the commit.
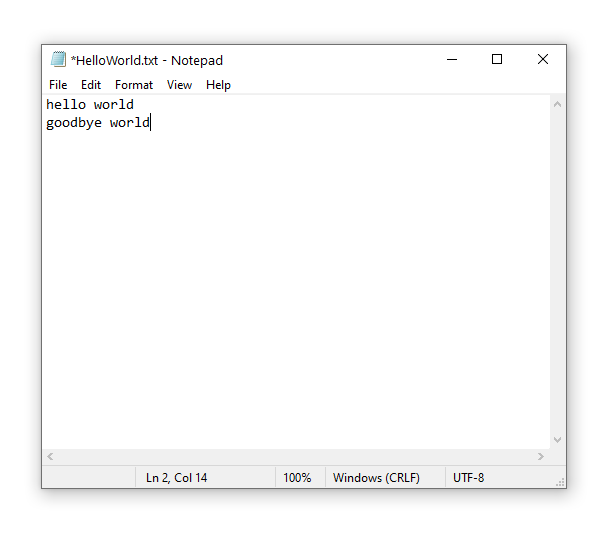
Lets update the file then add a new commit interactively. Open the text file, add the new line “goodbye world” and save.
To see the change that that occurred in our HelloWorld.txt file, type in the following command:
git will respond with the output:
Lets Break this down, line by line:
Line 1 tells us that git has two versions of HelloWorld.txt, for current and committed changes.
Line 2 tells us the indexes of each file.
Line 3 and 4 tell us that a/HelloWorld.txt is being removed and +++ b/HelloWorld.txt is being inserted.
Line 5 indicates a unified diff hunk identifier. this is documented by GNU Diffutils here.
Line 6 to 9 show what was removed and inserted into the file.
To see what the file looked like before its current changed (what it looked like on the last commit) type the following:
git will respond with the output:
Perfect 🌟 thats exactly how it looked before we added the new line. Lets add this change and make a new commit interactively with the following command:
Your console should jump you into an interactive nano editor, where you can enter in your commit message, then hit ctrl+x on your keyboard to exit and save the commit:
1 | Added goodbye world |
Now, if we use the git log command, we can see all 3 commits.
Merging Branches
Lets see how git manages collaboration between branches. We’re going to create a new branch, add a new file then merge these changes back into the master branch. We’re also going to take a look at what a merge conflict looks like, how it happens and how to deal with one.
To start this off, we’re going to create and checkout a new branch with the following commands:
Developers usually create new branches when they want to work on a new feature and merge the branch back into master when the feature is complete. Thus, it makes sense to name your branch something to do with the feature. In our case, we’re going to be adding a new file to the repository. Checking-out the new branch means we switch from developing on master, to developing on add-another-file.
Type in the following command to list all your current branches:
Git will output the following:
We can see we have twp branches and the current active branch is represented with a “*”.
Now lets add a new File, create a new file called PieceOfCake.txt.

If you check git status, git would tell you that you have a new untracked file.
Lets track and commit the file with the following commands:
Now that we’ve added the PieceOfCake.txt file on our “add-another-file” branch, lets go back to our master branch and merge in the changes from the “add-another-file” branch
Checkout master with the following command:
Merge the “add-another-file” branch into master with the following command:
Git will output the following:
So, git tells us that it updated from commit 43e4a93 to commit 7f70216. Remember these are the unique hash values git assigns to each commit. Git also told us that this was a “Fast-forward” merge, meaning it had not merge conflicts and could simply append the commit from “add-another-file” branch, into the master branch. In this merge, 1 file was changed, 0 files were inserted and 0 files were deleted. If you type in the command git log, you can see the chain of commits on master now includes the commit we made on “add-another-file”.
Lets now look at a scenario with a merge conflict. To create a merge conflict, we’re going to need to change the same file on two different branched and merge them together.
Lets start by creating and checking out a new branch with the following commands:
Git checkout creates a new branch based off of your current master branch, so the branch merge-conflict will have all the files that were in the master branch when it was created.
lets update the PieceOfCake.txt file by adding a line of text and saving the file.
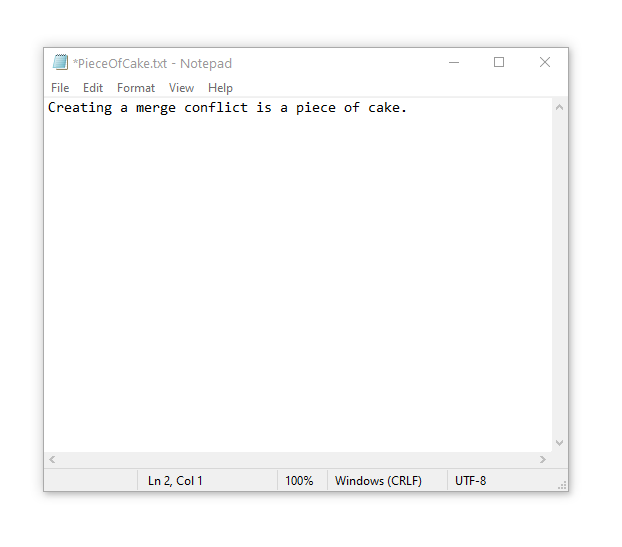
Then track and commit the change with the following commands:
Now lets go back to our master branch with the command:
Now we update the PieceOfCake.txt file by adding a different line of text and saving the file.
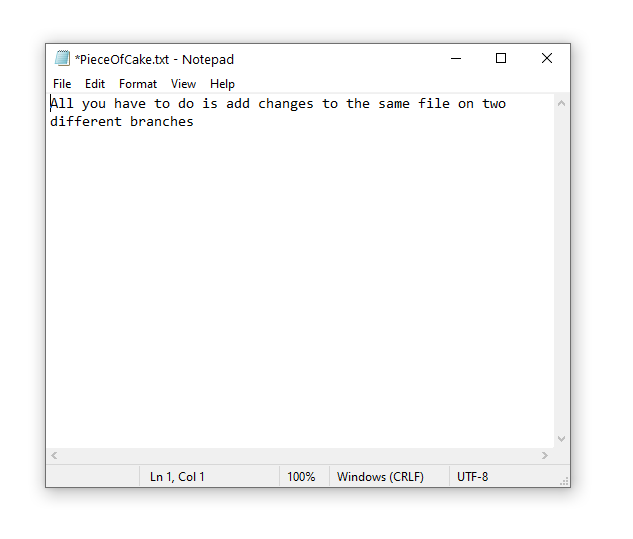
Then track and commit the change with the following commands:
Lets try merge the branch “merge-conflict” into our master branch.
Oh no! we got a merge conflict 💥…just as expected 🕶️
If you open up the file, you’ll see that git has made some changes to it.
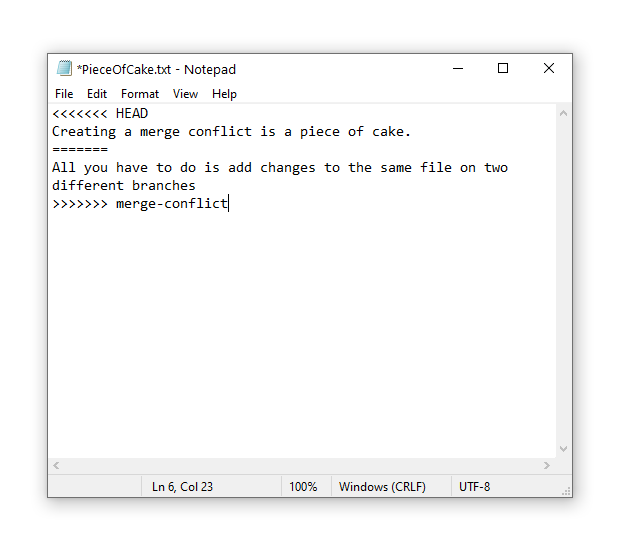
Git has split the code, where the merge conflict occurred. “<<<<<<< HEAD” to “=======”, indicates the section of the code which is currently on your working branch HEAD. By default, “HEAD” is a pointer to the latest commit in the currently active branch. So head is the latest commit on our master branch. “=======” to “>>>>>>> merge-conflict”, indicates the section of code which is currently on the branch you are trying to merge with. Git leaves it up to the developer to manually fix the file and select which parts of each branch they want in it.
I updated my file to look like this:
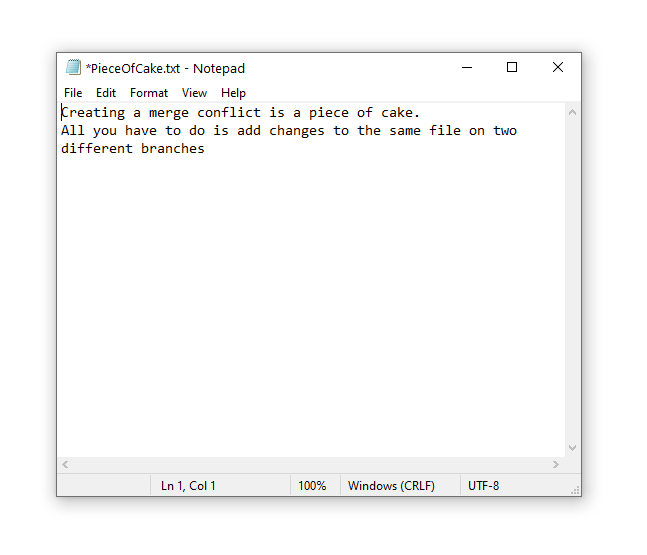
Now we can track this change and add it as a new commit:
Pulling and Pushing Changes
Every section which we’ve covered up until now has been to introduce the concepts needed to collaborate remotely with git. This last quick section will show you how to push your changes onto the remote repository and pull changes from the remote repository.
First lets look at how you push your changes to the remote repository with the following command:
Your remote repository should now be updated with the most recent version of your local repository. Next, we’re going to see how you would pull changes from the remote repository. For this example, I’m going to get my friend Jason to clone the repository, make a new commit with some changes on his local master branch and then push the changes to the remote repository.
After he’s done his changes, we use the following commands to pull them into our local master branch;
Git will output the following:
In summary, our master was updated to the origin/master branch. Git pull runs an automatic merge command and we had a “Fast-forward” merge with no conflicts. Lastly, we can see that 1 file was changed and added, the hello.txt file.

